
Finder · Downloads

screenpipe.dmg
download complete
01
Open the screenpipe installer from Downloads
Double-click the .dmg file that just downloaded.
screenpipe desktop
Choose the installer for your computer. Your download starts only after you select one.
how to install
screenpipe.dmg
download complete
01
Double-click the .dmg file that just downloaded.
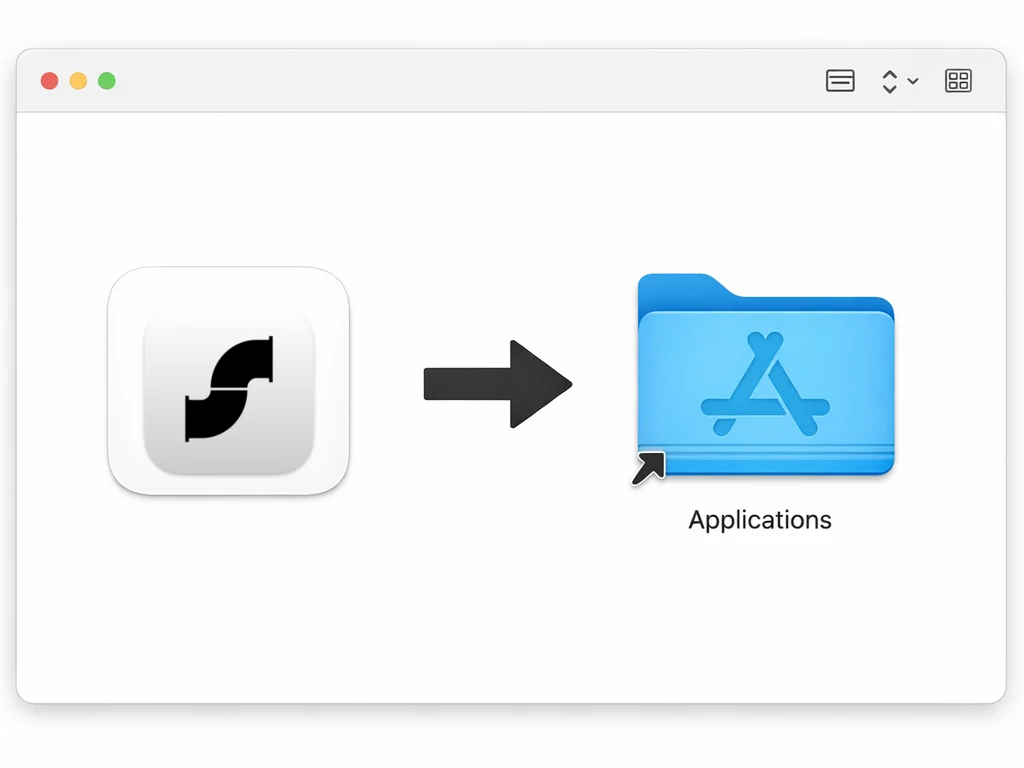
02
Move the screenpipe icon into your Applications folder.
screenpipe
permissions
03
Approve screen and audio permissions when macOS asks.
After installation
Do this once on the computer that records your work. These steps are the same for Claude and ChatGPT.
Open screenpipe and follow any sign-in prompts shown. If your browser opens, return to screenpipe after signing in.
Follow the permission prompts for the screen and audio you want to record. On Mac, these can include Screen & System Audio Recording, Microphone, and Accessibility. Input Monitoring is optional.
In Settings, choose what to capture and exclude sensitive apps or windows. If asked to quit and reopen screenpipe, do that before continuing.
Help with macOS permissionsWith screenpipe recording, open a blank note and type screenpipe setup check. Use no private or confidential information, and leave the note visible for a moment. This is only a test phrase, not a command.
Open screenpipe's Timeline and find the note. If it is missing, check recording and permissions before connecting your AI.